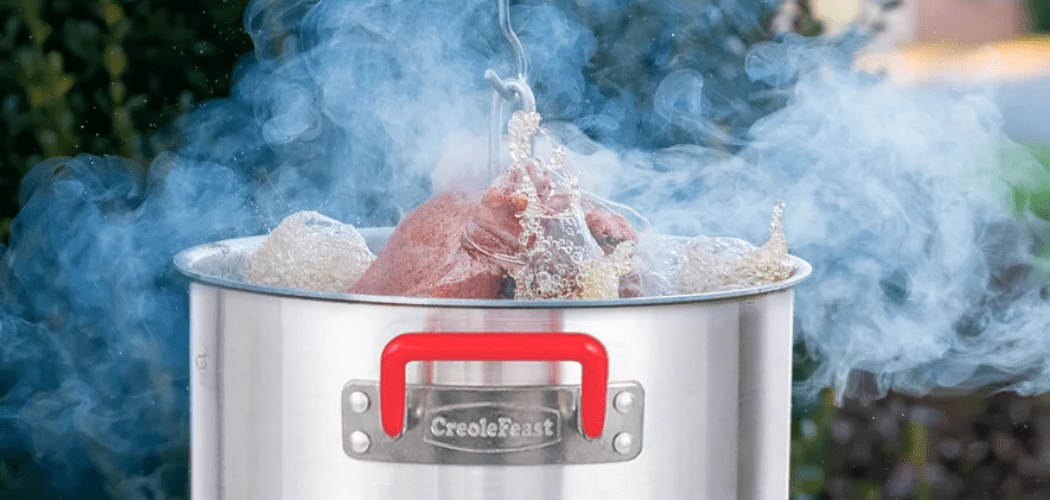
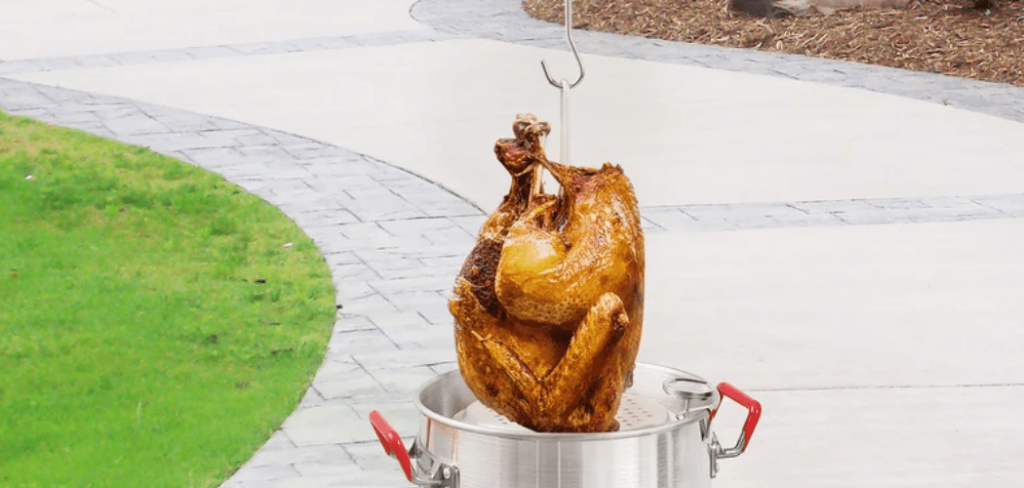
When preparing a spectacular turkey for Thanksgiving or making crispy roast dinners for the family, turkey fryers are a common choice.
They make it easy to prepare vast amounts of food quickly and are adaptable enough to provide delectable delicacies throughout the year.
However, washing your fryer and other utensils after usage is unpleasant. Regular cleaning of your fryer is crucial to ensure you get the most out of it over time.
For the most efficiency, you should strive to clean your fryer and replace the oil once or twice a week. After all, you don’t want to deal with grease, food particles, or oil accumulation over time.
But how to efficiently clean the turkey fryer? What steps to follow for proper cleaning? Read on and discover the steps to maintain and keep your turkey fryer as good as new.
Table of Contents
How To Clean The Turkey Fryer?
Here is an extensive step-by-step guide to help you in cleaning your turkey fryer:
Step 1 – Turn Off The Fryer
- Turn the gas off to your turkey fryer, then let the oil cool.
- Removing the oil while it’s still hot is unnecessary and risky. Be patient; cooling the fryer and oil may take many hours.
- Have a clean, empty jug or bucket ready to collect the wasted oil. For maximum efficiency, keep the oil in the container from where you poured it.
Step 2 – Remove The Oil
- If your fryer model has a drain valve, place the oil bottle below it. Put a stainless steel filter directly below the drain lever above the food-grade duct in the container’s mouth.
- Allow the oil to flow into the jug or container by fully opening the drain valve. Make sure the oil has adequate room in the container you’re using. If required, use numerous containers. Shut off the drain valve.
- If your fryer lacks a discharge valve, you may empty the oil by tilting the fryer in the direction of the funnel.
- Keep the oil bottle somewhere safe for later use. Following three to five usage, change the oil.
Step 3 – Add Water And Dish Soap
- Add a tiny pool of degreasing dish detergent (about the size of 2-3 quarters) to your fryer after draining out the entire oil from the fryer.
- Make sure you completely immerse the frying rack before adding hot water to the fryer. In case you don’t have access to hot water, fill the fryer with cold water, warm it up, and then add the soap.
- Allow the water and soap to dissolve the grease for five to ten minutes while sitting.
Step 4 – Use A Bristle Brush To Scrub
- To remove the oil and food particles from the frying rack, use a dishwashing brush with stiff plastic bristles.
- If the basket has a delicate mesh pattern, pay close attention to the basket’s openings. Use several scrub sessions to remove any food and oil residue if required.
- Continue cleaning the interior of the frying pot with the brush, carefully removing any pieces of food that are stuck behind.
Step 5 – Use A Dish Sponge To Scrub
- Use a heavy-duty dish sponge to extensively scrub the frying pan’s inside and outside.
- After cleaning, use your fingertips to inspect all surfaces. Scrub everything again with dishwashing liquid on your sponge if it still feels oily.
Step 6: Clear The Drain Valve And Drain The Water
- While the detergent water is still within the fryer, open the discharge valve (if it has one), allowing some water to go through the valve, ejecting any stuck food debris.
- Fill up your fryer’s water tank to the brim.
- If you have an extension pipe, clean its inner surface and the drain valve using a tiny bottle brush and dish soap.
Step 7: Dry, Rinse, And Store
- While the flow control valve is still open, use a water hose to rinse the soap from the fryer thoroughly.
- Make a last check to ensure that all surfaces are clear of oil and soap.
- After entirely air-drying all of the pieces of your fryer, store them for later use.
How To Maintain Your Turkey Fryer?
Check The Quality Of The Oil Regularly
Contaminated oil or oil that is too old is unsuitable for cooking. The taste, fragrance, and overall quality of the food items prepared in the fryer may suffer if the oil is polluted or otherwise unclean and overused.
You must examine the oil’s quality consistently and within reason. One must change the oil right away if it has developed a foul odor or color (typically a brown color).
Do remember, however, that although filtering costs more money than replacing the oil, you’ll ultimately want to change the oil to prolong its life.
If you want to learn more about how to measure and check the oil regularly then make sure to read our full guide.
When You Change The Oil, Clean The Fryer
When changing the oil, you should thoroughly clean the fryer components. The trapped particle matter should be removed as needed using a cleaning tool.
Usually, you need soap and water, but in other cases, you may wish to add chemical help. For further information on which chemicals are ‘safe to use’ with your machine, verify with the manufacturer.
Keep Debris Away From The Exterior
Don’t forget to clean the tabletop area surrounding and outside the fryer machine. Failure to do so might cause damage risks from leftover oil.
Additionally, leftover oil might spill into the device or onto other kitchen items, creating a mess that will be much more difficult to clean up later.
Avoid Cooking At Temperatures Higher Than Those Advised
Every fryer has a suggested frying temperature range. Manufacturers set these limitations because if you run the fryer over the acceptable temperature range, the oil may burn and alter the taste of foods that are subsequently cooked in the fryer.
Furthermore, cooking outside of the specified temperature range may result in the fryer’s inability to fry the food in a manner that correctly represents its capabilities. The mentioned temperature range is often the most ‘efficient’ range for the fryer to function.
Consider Deep Cleaning
The industrial fryer must be thoroughly cleaned on occasion. Deep cleaning in the context of frequent-use fryers refers to boiling the fryer.
The process of “boiling out” entails draining the spent fryer oil and then running the fryer machine after it has been loaded with a cleaning agent. After that, fresh oil is poured, and the fryer is ready for use.
FAQs
Q. How Can You Clean Cooking Oil Of Debris?
Put a second pot beneath the deep fryer to collect the drippings after draining the oil. Then, use a hose to spray water to flush out the fryer’s gunk. Continue draining the pot as necessary until the water is clear and the fryer is clean.
Q. How To Season A Deep-Fried Turkey?
Before frying the turkey, blot it fully dry and apply a dry rub pre-mixed to its exterior while wearing a pair of clean gloves. After coming in contact with the turkey, take care not to touch the dry rub.
Due to cross-contamination, you must throw away any dry rub you handled while wearing gloves. Before deep-frying your turkey, apply butter into the flesh under the skin for the tastiest deep-fried turkey in the neighborhood.
Q. When Should You Throw Away Fryer Oil?
It’s crucial to strain your oil before cleaning your equipment. Your food will taste better because of this. However, throw it out if it begins to smell stale, foamy, or smokey.
Final Thoughts
You’ll inevitably need quite a bit of oil to cook your turkey. But your kitchen gadget will be prone to dirt and damage with more oil. Therefore, before preparing turkey using your fryer, ensure it is clean and safe.
The points given above outline the steps involved in cleaning the turkey fryer. It will help you in the cleaning process and ensure that your fryer lasts long!